|
For background information, see: About the Basic Workflow |
Worklists are designed to streamline your workload. A worklist displays work to be completed and contains a list of status levels, which are steps through which a study passes until completion. When a step is completed, the next status is assigned and the study moves to the next worklist.
You can customize how the information in the worklists is displayed and sorted. You can add and remove columns, sort columns in ascending and descending order, and arrange columns in stacks.
RIS worklist areas contain the following sections:
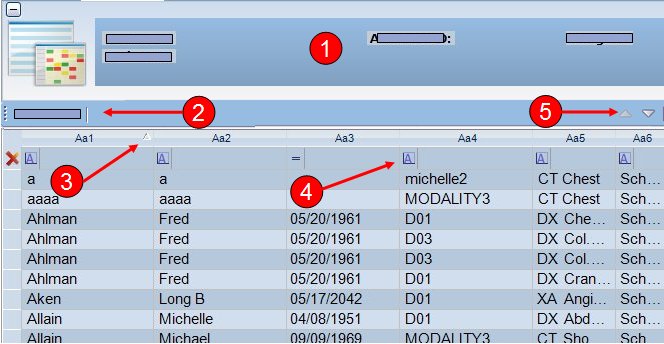
The read-only area contains patient information.
To hide the read-only area, click the dash symbol in the upper left corner.
To show the read-only area, click the plus symbol.
MyViews let you save your customized worklists to use each time you access the worklist.
To use an existing MyView, click the name.
See Using the MyView Toolbar for additional information.
To sort a column in ascending (a to z) or descending (z to a) order, click the text portion of the column header. Click once for ascending and again for descending.
To add columns to the sort, hold the Shift key and click each additional column header.
To remove a column from the sort, hold the Ctrl key and left-click each column header.
Worklist filters let you customize the information you want to display. When a filter is applied, the entire filter row is visually changed.
See Filtering a Column for additional information
Lets you move between pages of a worklist. When enabled, the current page displays in the status bar, for example, row 101-150 of 286.
Related Topics: |